LearnStart here
A guided walkthrough, with screenshots
Step by step: start your first Session, bring a project from your DAW, find music and people on Explore, and ask for what a song needs.
Three things, in the order most people do them: put a song up, go and look at what everyone else is working on, and ask for the part you cannot play yourself. Each one stands alone — skip to whichever you need.
1. Start a Session
A Session is one song’s home — every version, every file, every contribution, in one place. You start one with whatever you already have. A voice memo is enough.
- Press Start for free in the header, or go straight to Start a Session.
- Sign in if you have not already. This is the only wall in the whole flow, and it is here so your drafts survive closing the tab.
- Hand over what you have. Drag it anywhere on the page, or press Choose a file — a bounce, a folder of stems, or a whole DAW project. Nothing has to be declared first; what you hand over decides how it is read.
- Fill in Session details. The title is filled in from your filename, so most of the time there is nothing to type. Genre is how people find it later.
- On Review, check who can reach it. Sessions are public unless you say otherwise — public is what lets anyone hear it and offer to help. Add artwork if you want, and confirm you have the rights to the audio.
- Press Start Session. Your files upload at this point, not before, so stay on the page until it finishes.
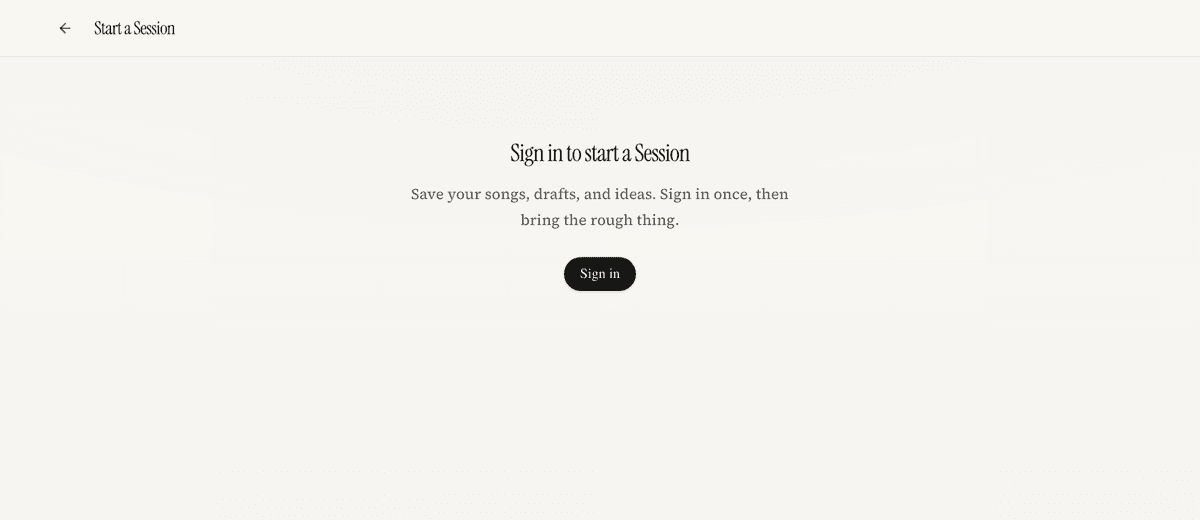
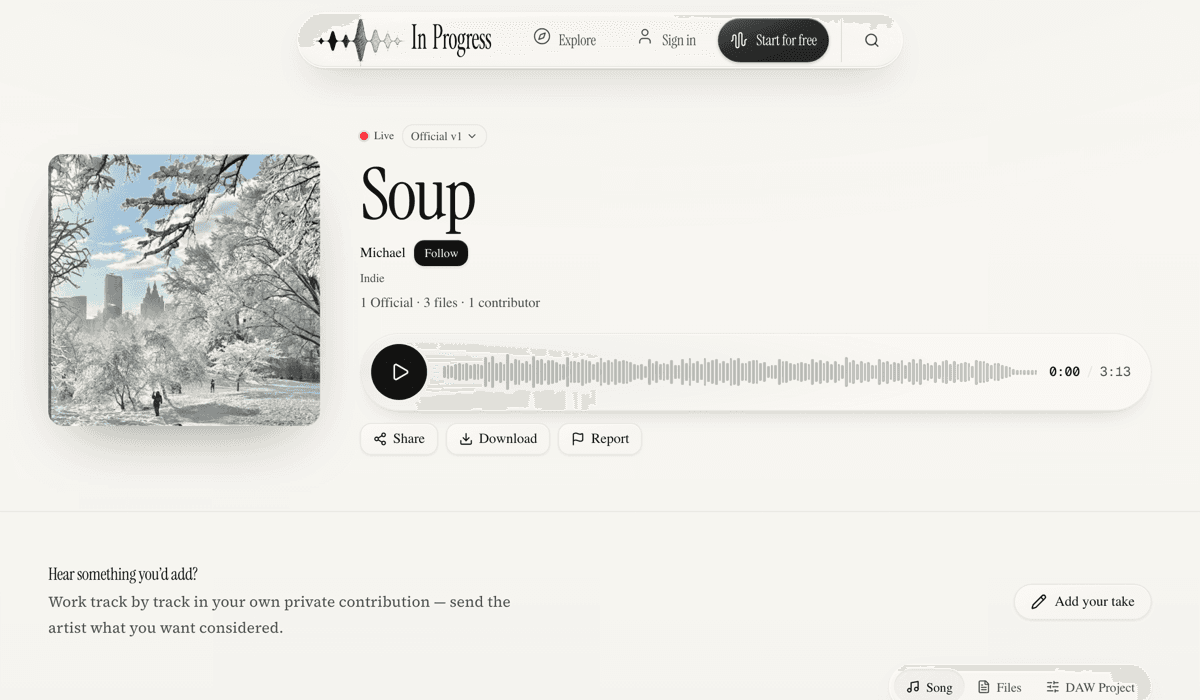
What you end up with is the Session page: the current version at the top, its history underneath, and the controls for inviting people in.
2. Find music and people on Explore
Explore is where you hear what other people are part-way through. It opens on Browse, which is a page you read; the Discover toggle beside it is a full-screen feed you swipe instead.
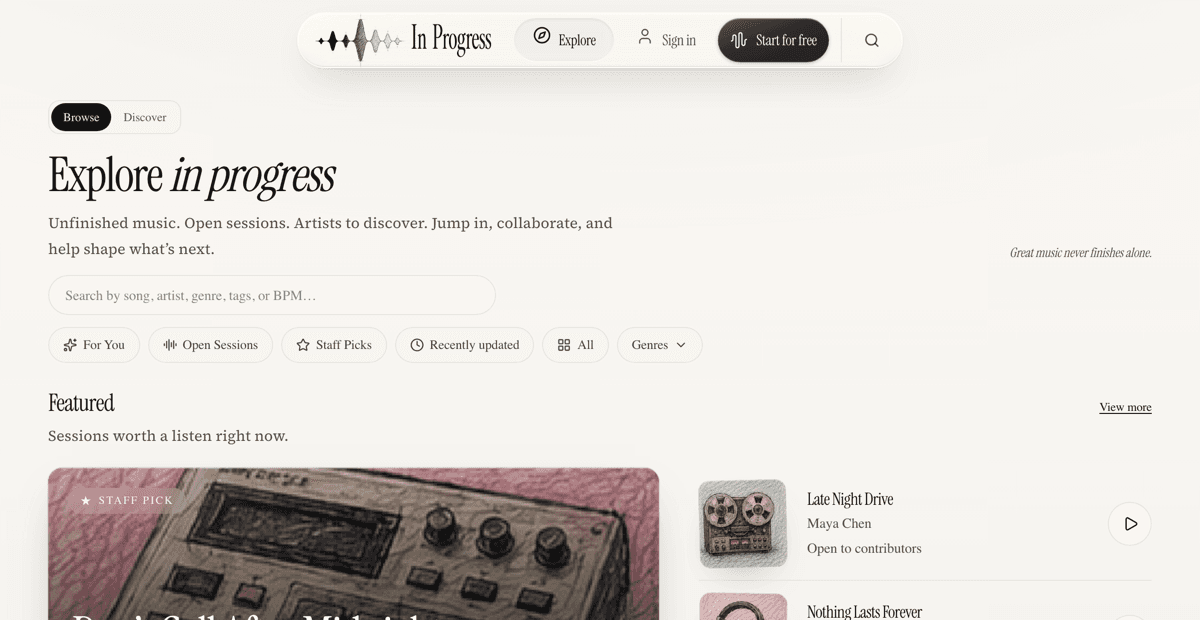
Working down the page:
- Search — one field for songs, artists, genres, tags and BPM. Useful when you know roughly what you want.
- The chips — For You, Open Sessions, Staff Picks, Recently updated, All, and Genres. Each one narrows the page rather than taking you somewhere else.
- Featured and Open Sessions — Sessions worth a listen, and Sessions whose artists have said they want contributors.
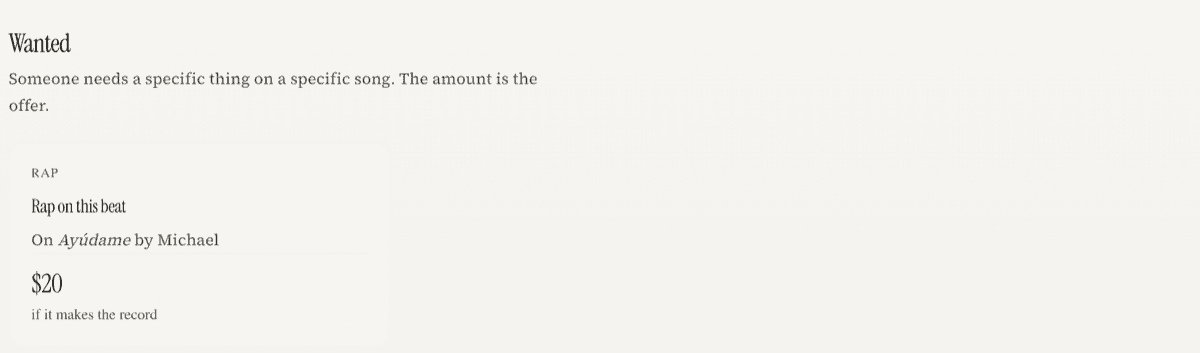
- Wanted — specific asks with a specific song attached, and the amount if there is one.
- Browse by genre and Artists to discover — for when you are not looking for anything in particular.
Open Sessions and Wanted are different invitations, and it is worth knowing which is which. An open Session is a door left ajar — send something if you hear something. A Wanted post is somebody asking for a named part, and naming what it pays.
3. Ask for what a song needs
A request is how you ask for a part you cannot play. There are two kinds, and the difference is who can see it.
- Open — public. Anyone can read it, hear the song, and put themselves forward. You pick who gets it.
- Private — addressed to one person, inside your conversation with them.
Posting an open request
- Open your Session and press Ask for help. The song is attached for you.
- Say what you need — one or several of drums, vocals, mixing, and so on — and describe it in your own words. That description is the deal, so be specific.
- Set an amount, or leave it free. If you set one, choose when it pays: when the work is sent, after several sends, or only if the part makes the record. The amount and its condition always travel together.
- Post it. Your request gets its own page, and Copy link on that page is how you send it to people. It also appears under Wanted on Explore.
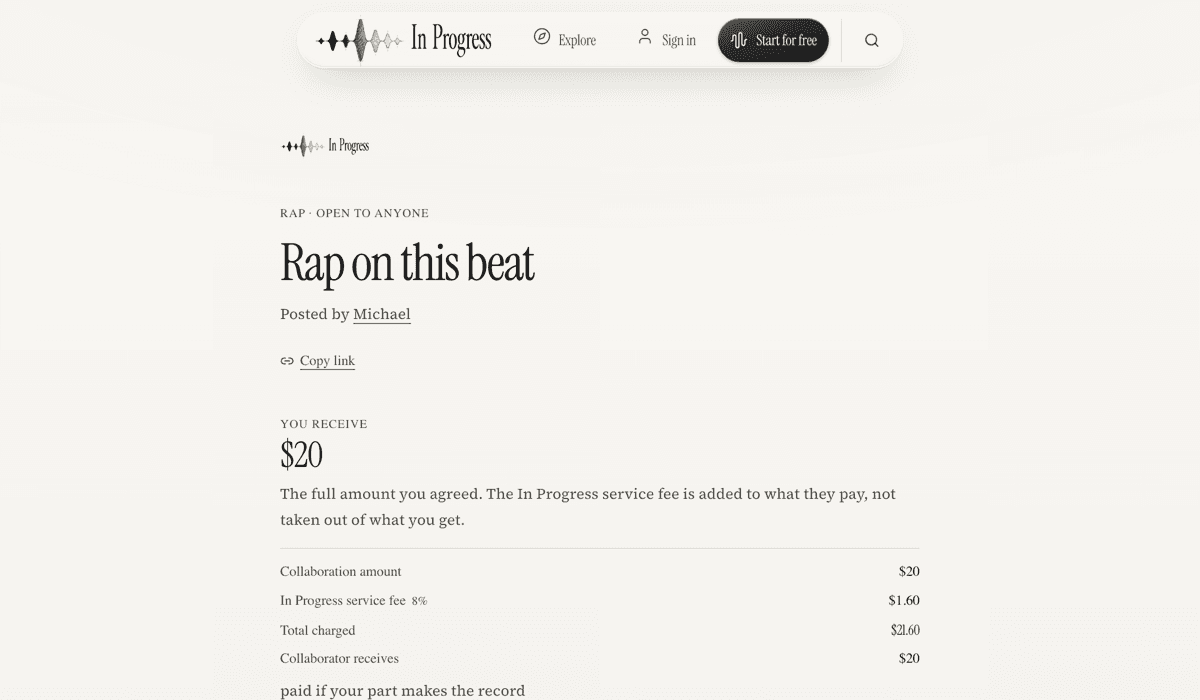
Answering someone else’s
- Find one under Wanted on Explore, or from a link somebody sent you, and open it.
- Listen to the song on that page, then press I’ll try for this. You can attach a contribution you have already made to the song.
- The person who posted it sees everyone who tried and presses Give it to them on one. That opens a conversation between you and starts the agreement.
Keeping track
Requests holds every request you have sent and received, under Received, Sent, Accepted and Closed. Each row says whose move it is. Clicking one opens where it lives — its public page if it is open, the conversation if it is private — and paid agreements show a Pay button as soon as both sides have agreed.
Bringing a project from your DAW
Point at the project and start the Session — drag it anywhere on the page, or press Choose a file. Nothing has to be declared first; what you hand over decides how it is read.
Logic Pro and GarageBand
Hand over the whole .logicx or .band — the bundle, not a file from inside it. Drag it from Finder, or zip it first if you would rather use the picker. Your recorded audio comes through as tracks, along with tempo, key and meter.
Ableton Live
Hand over the .als, or the project folder around it. The folder is better: a Live Set points at samples that live outside it, and the ones it can find are the ones that come through.
Studio One, Bitwig and Cubase
Export DAWproject from any of the three and hand over the file. It is the richest thing anyone can send us — the tracks come with their arrangement rather than as a pile of parts.
Pro Tools
A .ptx is recognised but cannot be read — Avid does not publish it. Export AAF from Pro Tools instead and hand over the AAF together with its Audio Files folder; selecting both, or dragging the folder that holds them, is one import.
FL Studio Mobile
Export the project as a .zip from the app and upload that. On a phone it is one tap — Choose a file, pick the zip — and the recordings inside come through as tracks.
A .flm on its own imports. It carries no audio — it points at recordings kept inside the app — but it does carry the song: your Session comes up with every track named, at the project’s tempo and time signature, and the .flm preserved. What it will not have is sound.
To bring the sound with it, use the app’s export as FLP. That one is packaged with the audio — your recordings arrive as their own tracks, at the project’s tempo. The instrument library it also carries is left out on the way in: those are the samples the synths load, not parts anybody played.
FL Studio (desktop)
Same shape as the mobile app. A .flp references its samples rather than holding them, so save a zipped project or hand over the whole project folder — either brings the audio with it.
Any DAW at all
A folder of stems works, and so does a single bounce. Each file lands as its own track. This is the route that never depends on a format being readable, and it is the one to reach for when something above does not go through.
What does not come across
Plug-ins and their settings stay in your DAW — print or bounce anything you need heard. On the routes that recover audio without an arrangement — stems on their own, and bundles whose project data cannot be read — every track starts at the top, and tempo and key arrive empty rather than guessed. The import says which of these applied rather than leaving it to be discovered later.
Where to go next
- Create your first Session — the same ground in more detail.
- Requests and paid collaboration — terms, counters, delivery and disputes.
- Copyright and rights — what you may upload, and what happens if something is matched.